5 Simple Ways to Charge ZERO BREEZE Mark 3 Battery

Let's Focus on Your Mark 3 Battery
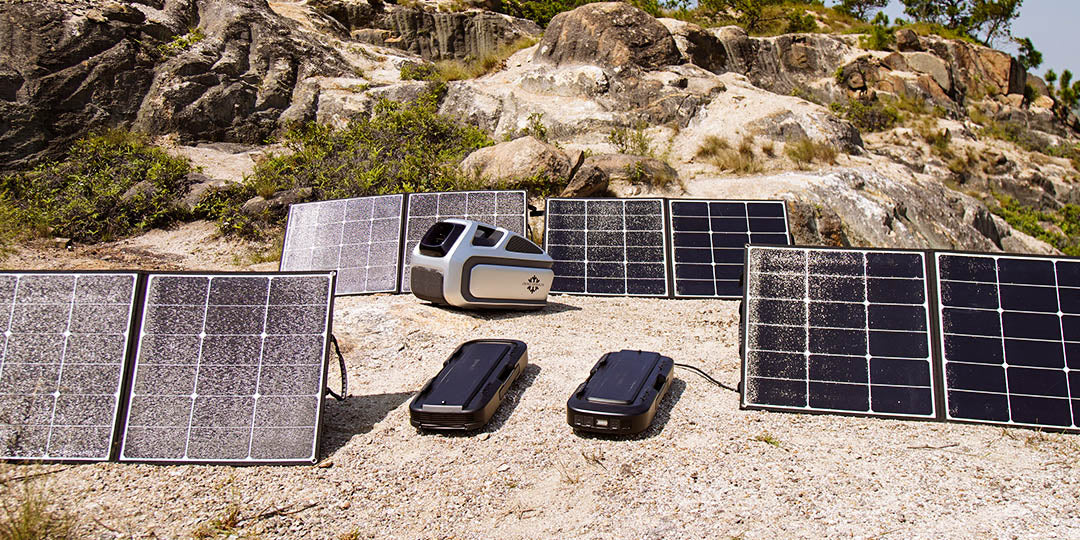
With a fully charged Mark 3 battery, you can power on your Mark 3 air conditioner, enjoying a cool night's sleep, even during the hottest summer days. But that's not all! Its versatile charging ports - Type-C, USB-A, and 12V Anderson Output - turn it into a portable power station, perfect for charging your gadgets on the go. This is especially handy during power outages or camping trips.
As for itself, the ZERO BREEZE Mark 3 battery's integrated MPPT charging management system takes the hassle out of charging. No need for extra charging controllers. Just connect your solar panels and let the battery do the rest. Plus, its pass-through charging feature means you can charge your devices while it's charging.
With a wide DC input voltage range of 12V-60V, the Mark 3 battery is compatible with multiple power sources. Whether you're using a car cigarette lighter, solar panels, or a wall outlet, charging is a breeze.
And say goodbye to lost cables and charging dilemmas. The Mark 3 battery comes with an attached, extendable charging cable, ensuring you're always ready to power up.
How to Charge Your Mark 3 Battery
Option 1: Car Cigarette Lighter
What's needed: One Mark 3 Battery, One Car Cigarette Lighter, One Car Charging Cable
As the DC charge input voltage of Mark 3 battery is 12V-60V, you can charge it easily without worrying voltage switching. Here's how:
- Plug one end of the car charging cable into the car cigarette lighter.
- Connect the other end to the Mark 3 battery.
The battery status light will blink to indicate it's charging.
Warning: Do not power on the Mark 3 AC directly with the car cigarette lighter, as it may blow the fuse.
Next, we'll discuss using solar panels for charging. Solar panels typically come with a junction box containing two wires associated with a female connector and a male connector separately. To charge the Mark 3 battery with solar panels, you'll need an additional solar charging cable compatible with both the solar panel and the battery.
Option 2: One Solar Panel
What's needed: One Mark 3 Battery, One Solar Panel, One Solar Charging Cable
To charge a Mark 3 battery with a single solar panel:
- Connect the female connector of the solar panel to the male connector of the solar charging cable.
- Connect the male connector of the solar panel to the female connector of the solar charging cable.
- Plug the other end of the solar charging cable into the battery.
The battery status light will blink to show that it's charging.
Option 3: Two Solar Panels
When using two solar panels, you can wire them either in series or in parallel. Here's how to do both:
Option 3A: Wiring the Solar Panels in Series
What's needed: One Mark 3 Battery, Two Solar Panels, One Solar Charging Cable
- Connect the two solar panels in series by connecting the female connector of panel A to the male connector of panel B.
- Connect the connectors of the solar charging cable to the available male and female connectors of the two solar panels correspondingly.
- Plug the other end of the solar charging cable into the battery.
The battery status light will blink to indicate charging.
Warning: Ensure the total output voltage of the solar panels doesn't exceed the battery's input voltage.
Option 3B: Wiring the Solar Panels in Parallel
What's needed: One Mark 3 Battery, Two Solar Panels, Two MC4 Y Connectors (MMF + FFM), One Solar Charging Cable
- Connect the female connectors of the two solar panels to the two male connectors of the MC4 Y connector (MMF).
- Connect the male connectors of the two solar panels to the two female connectors of the MC4 Y connector (FFM).
- Connect the female connector of the MC4 Y connector (MMF) to the male connector of the solar charging cable.
- Connect the male connector of the MC4 Y connector (FFM) to the female connector of the solar charging cable.
- Plug the other end of the solar charging cable into the battery.
The battery status light will blink to show that it's charging.
Warning: Monitor the total current of the solar panels to prevent overheating or damage to the battery.
Option 4: ElecHive, the Portable Power Station
A portable power station, like ElecHive, is another convenient option for charging the Mark 3 battery during off-grid adventures. Here's how:
Option 4A: AC Outlet
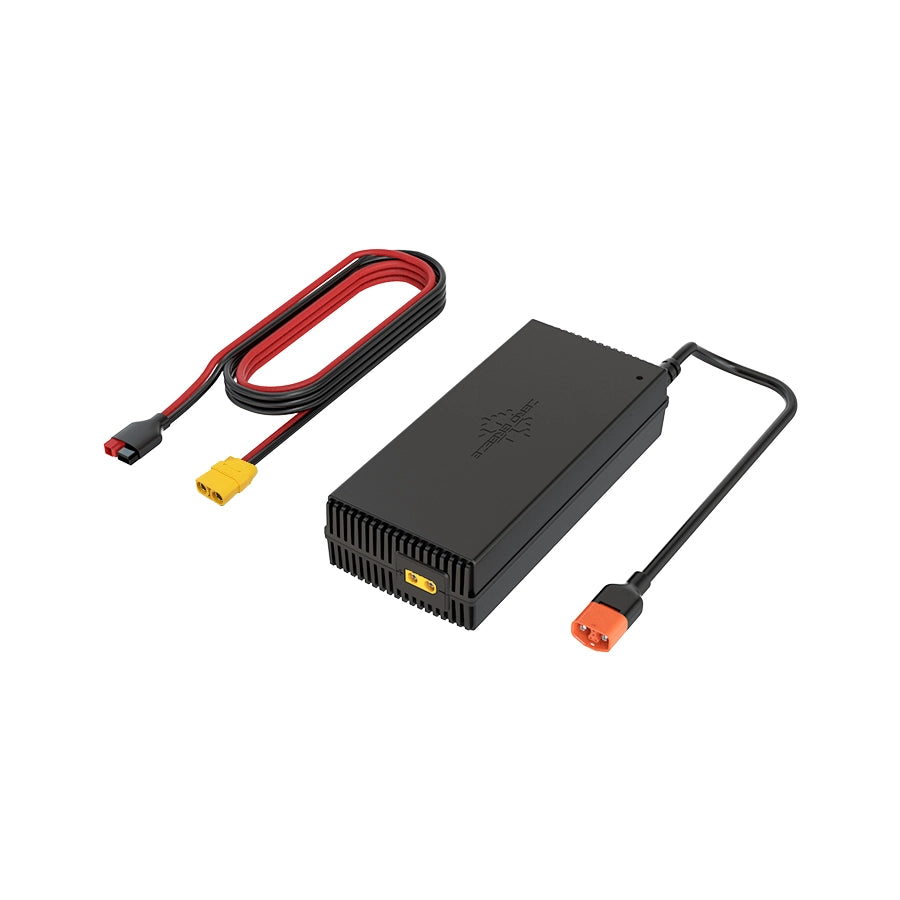
What's needed: One ElecHive, One Mark 3 Battery, One Mark 3 AC Power Adapter
- Connect the AC power adapter to the Mark 3 battery.
- Plug the other end into the AC outlet on ElecHive.
- On ElecHive:
- Long press the main power button to turn it on.
- Long press the AC power button to activate the AC output.
The battery status light will blink to indicate charging.
Option 4B: DC Outlet
-
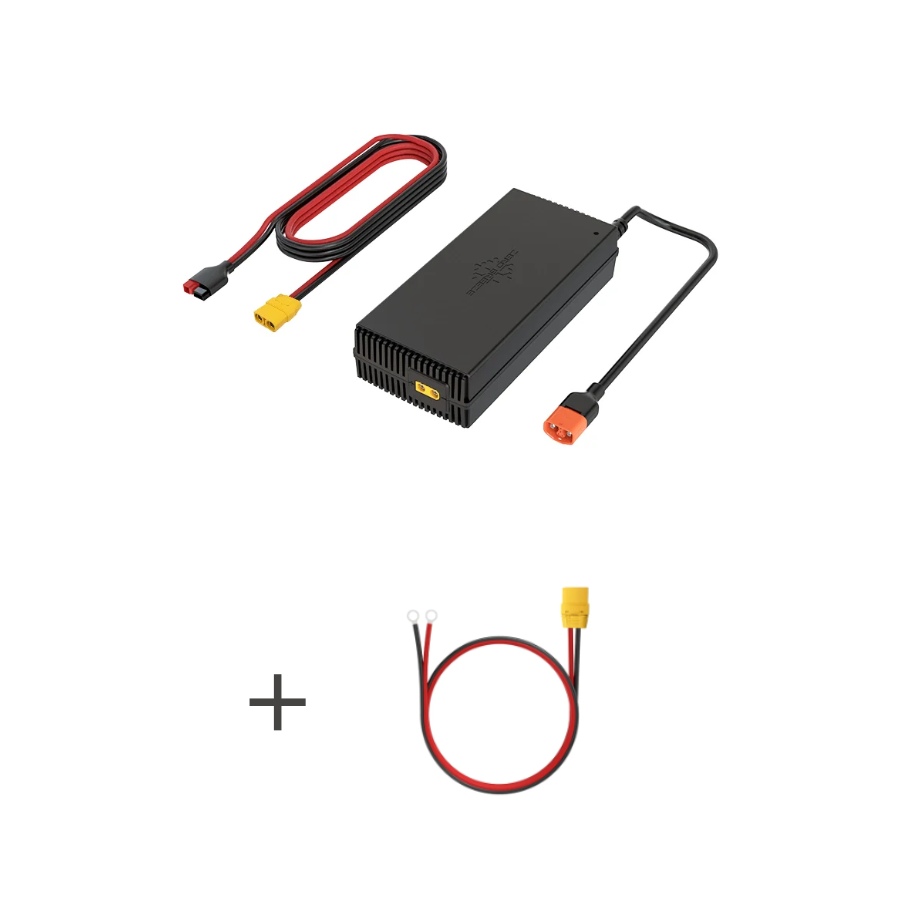
Connect the XT90 plug of the cable to the input end of the 48V booster.
-
Plug the Anderson terminals of the cable into the Anderson DC output port on the ElecHive.
-
Connect the output cable of the booster to the charging port of the Mark 3 battery.
-
On ElecHive:
-
Long press the main power button to turn it on.
-
Short press the DC power button to activate the DC output.
-
Option 5: Wall Outlet
If you're at home, a campsite, or other places with shore power, you can charge the Mark 3 battery directly using a wall outlet.
What's needed: One Mark 3 Battery, One Mark 3 AC Power Adapter, One Wall Outlet
- Plug the power adapter into the wall outlet.
- Connect the other end to the Mark 3 battery.
The battery status light will blink to show that it's charging.
Keep Your Mark 3 Battery Ready for Adventure
Each of these five charging options has its advantages and can be selected based on your circumstances and needs. By following them, you can ensure that your Mark 3 battery is always ready to go, providing you with reliable power whenever you need it. But remember, always prioritize safety. Be mindful of the voltage and current requirements for safe charging.
In addition, we'll talk about the storage and maintenance of the Mark 3 battery in a future post. If you'd like to know more about ZERO BREEZE products, let us know in the comments below!


Hi Stacey, great question! When two or more Mark 3 batteries are connected together, the system automatically manages the charging order.
- The battery directly connected to the power adapter will charge first.
- Once it reaches around 98%, charging will automatically switch to the next connected battery.
- After all batteries reach about 98%, the system will top them off one by one.
So you don’t need to unhook them or charge each one separately — just plug the power cable into the bottom battery, and the system will take care of the rest.
If the first (bottom) battery is already full, it will automatically move on to the next one that needs power.
I can’t find the answer on charging the following way: I have two mark 3 batteries connected to the unit. It’s heavy so I want to leave it like it is and plug the power cable into the wall and charge both batteries at the same time. Can I just plug the power cable into the bottom battery? Do I have to wait until both are drained? Right now my uppermost battery is on the 1 indicator light and the bottom battery is full. In other words, do I need to unhook them and charge each battery separately?
Leave a comment