Getting Started
with Your Mark 3
with Your Mark 3

Ready to unpack your Mark 3? Check if everything's there. If it is, you're all set to start cooling! Missing anything? Just reach out to us anytime. (Note: Window panels are not standard accessories.)


Looking for more tutorials? Check out our YouTube channel.
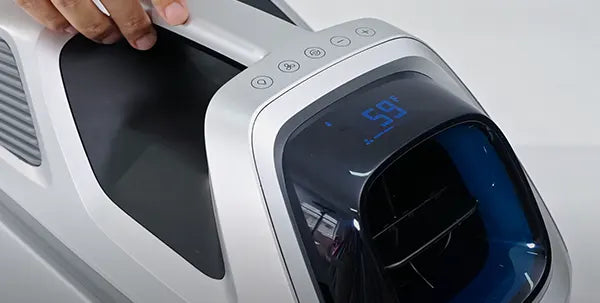
Simply press and hold the light button for 2-3 seconds to switch the air outlet temperature display between Fahrenheit and Celsius.
Step 1: Disconnect the air conditioner from its power source and remove the batteries from the remote control.
Step 2: Reconnect the power supply and turn on the Mark 3 by pressing and holding the power button. Reinsert the batteries into the remote.
Step 3: On the Mark 3, press and hold both the fan speed button and the light button simultaneously for 2 seconds until you hear a "ding" sound and the Wi-Fi signal icon starts flashing.
Step 4: On the remote, press and hold the fan speed + button and the light button together until you hear two "ding-ding" sounds. This indicates successful pairing. (The Wi-Fi signal icon on the Mark 3 and the remote will stop flashing when pairing is successful.)
Error code E18 indicates an overflow protection alert, which typically means the system is having trouble draining properly. Please follow these steps to troubleshoot:
Step 1: Check the drain hose.
Step 2: Update the firmware (if needed).
If the drainage issue continues after checking the hose, try to perform a firmware upgrade. Log in to the ZERO BREEZE app and update the firmware to the latest version.
If the problem still persists, please reach out to us at support@zerobreeze.com for further assistance.
Error code E20 indicates that the intake air temperature at the front fan has fallen below 10°C (50°F) during heating mode. To protect the system and prevent evaporator freezing, the Mark 3 will automatically disable the compressor, front fan, and rear fan, and display the E20 error.
The Mark 3 has a built-in timer function, but there is no physical “Timer” button on the unit itself. You'll need to use the remote control or mobile app to access this feature.
Continue pressing the "Timer" button until the timer setting cycles back to zero, or simply turn off the air conditioner manually before the timer runs out.
Align the unit's latches with those on the battery base. Slide the Mark 3 forward until you hear a click, indicating a secure connection.
It's easy! Just follow these 3 simple steps:
Let the unit run for a few minutes to ensure everything works properly.
You can also watch our step-by-step video guide here: Quick Test Guide.
App upgrades may fail if the process is interrupted. Please ensure:
If the issue continues, try restarting your device and updating again.
While the Sleep mode operates at a quiet 46 dB(A), we understand that this may still be noticeable for some sensitive users.
Here are a couple of suggestions to potentially reduce the perceived noise: