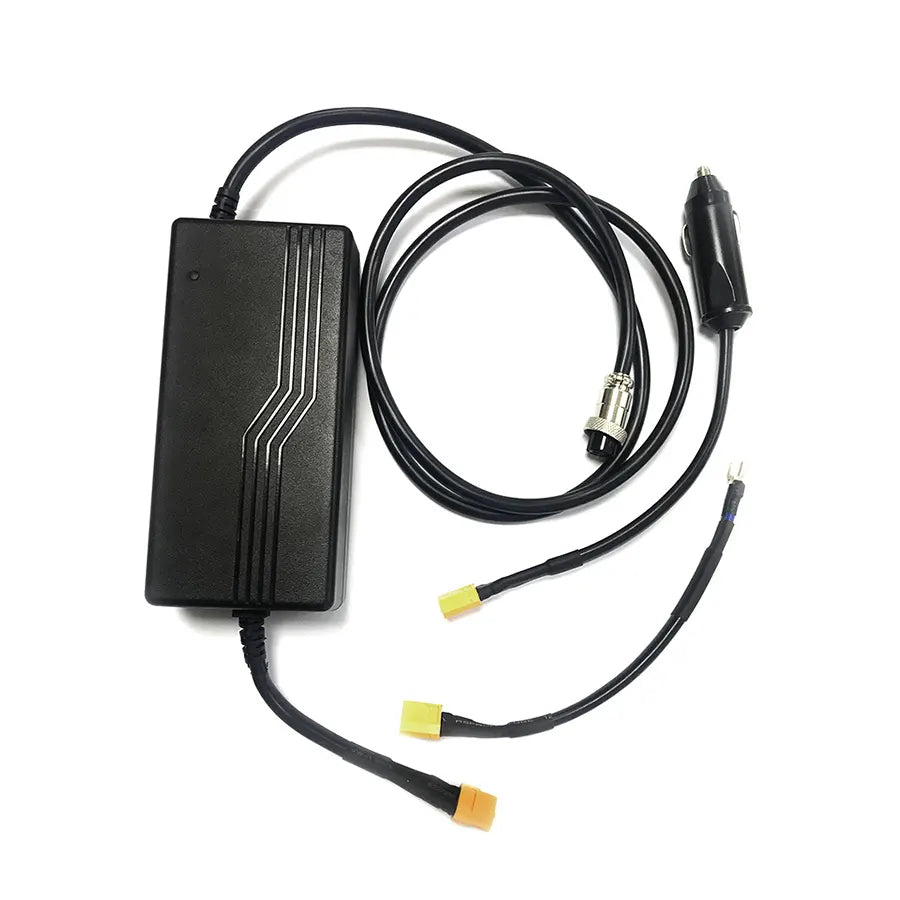
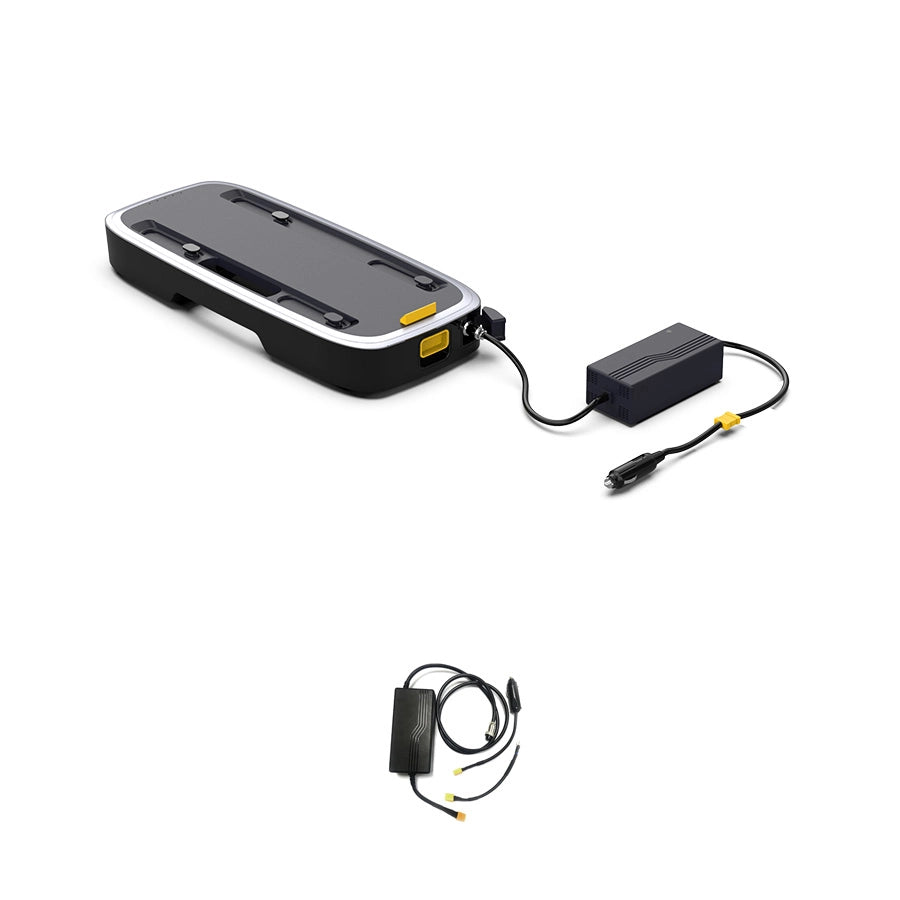


Unlock the convenience of charging your Mark 2 battery directly from your vehicle’s cigarette lighter. This section provides step-by-step instructions on safely using the 12V to 24V Converter for battery charging.

Usage Instructions:
Compatible Models: Below are the tables for compatible models from each brand. These models have been tested and confirmed to work seamlessly with the Mark 2 setup:
| Brand & model | Interface | Capacity / Wh | Min running time / hrs | Max running time / hrs | DC power supply |
| Yeti6000X | Anderson 12V, 30A | 6,071 | 25.0 | 51.0 | Yes |
| Yeti3000X | Anderson 12V, 30A | 3,032 | 13.0 | 25.0 | Yes |
| Yeti1500X | Anderson 12V, 30A | 1,516 | 6.0 | 13.0 | Yes |
| Yeti1000X | AC | 983 | 4.0 | 8.0 | No |
| Yeti1000 Core | AC | 983 | 4.0 | 8.0 | No |
| Yeti500X | AC | 505 | 2.0 | 4.0 | No |
| Yeti400 | AC | 396 | 2.0 | 3.0 | No |
| Yeti150 | Only support charging for Mark 2 Battery | No | |||
| Yeti200X | Only support charging for Mark 2 Battery | No | |||
| Brand & model | Interface | Capacity / Wh | Min running time / hrs | Max running time / hrs | DC power supply |
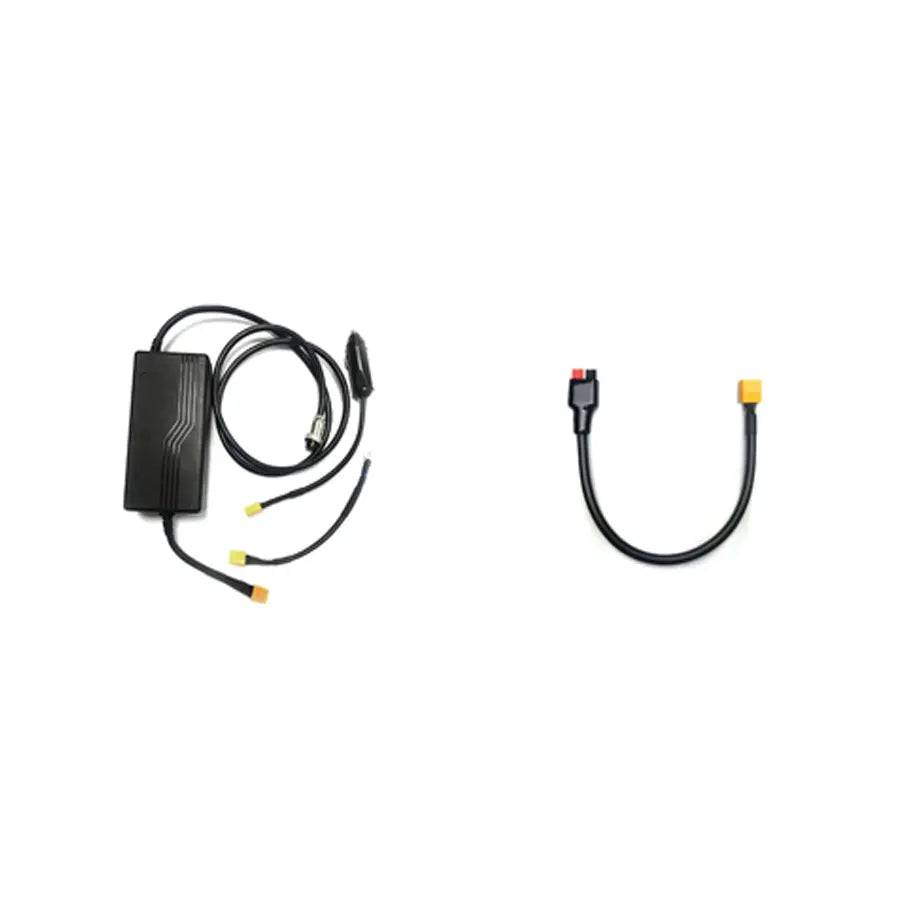
| EF DELTA Pro | Anderson 12.6V, 30A | 3600 | 15.0 | 30.0 | Yes |
| EF DELTA Max | AC | 2016 | 8.4 | 16.8 | No |
| EF DELTA | AC | 1260 | 5.3 | 10.5 | No |
| EF DELTA mini | AC | 882 | 3.7 | 7.4 | No |
| EF RIVER Pro | AC | 720 | 3.0 | 6.0 | No |
| EF RIVER Max | AC | 720 | 3.0 | 6.0 | No |
| EF RIVER | AC | 360 | 1.5 | 3.0 | No |
| EF RIVER Mini | AC | 210 | 0.9 | 1.8 | No |

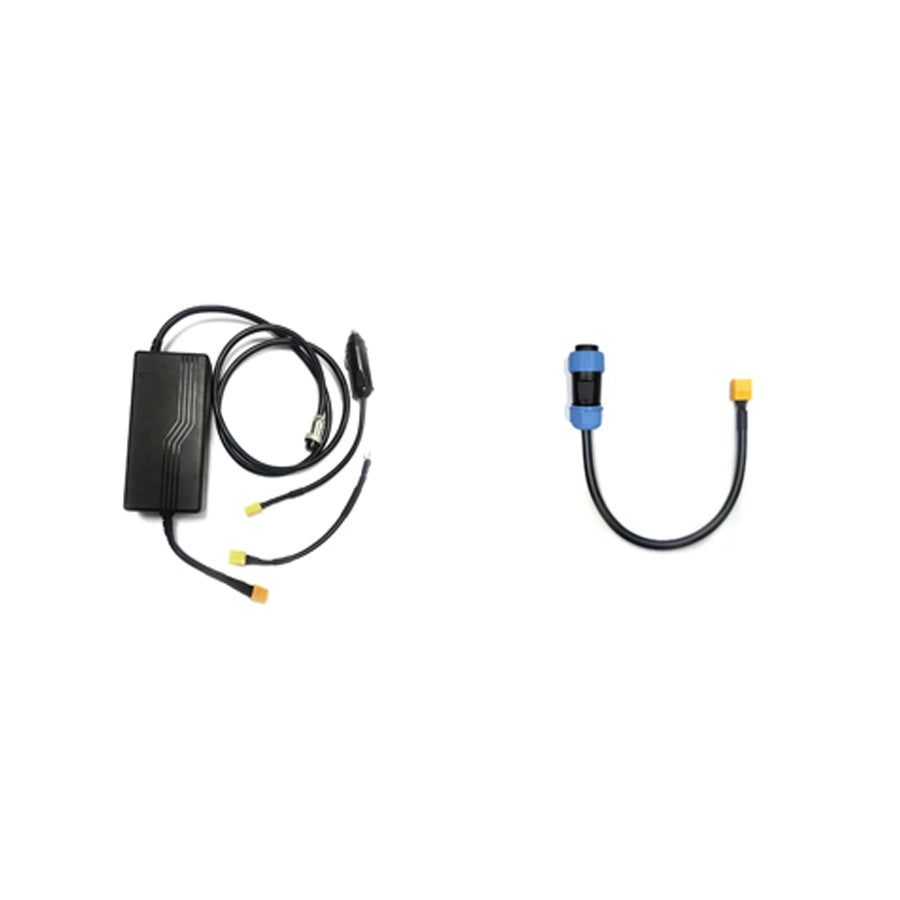
Due to an upgrade by Bluetti on August 2022,the AC 200P 12V RV interface has been updated to match the interface of the AC 200max. To be compatible with the Mark 2 AC, if you purchased the AC 200P after August 2022, please select the cable version for the AC 200max. If you made your purchase before August 2022 should continue to buy the original AC 200P cable version.
| Brand & model | Interface | Capacity / Wh | Min running time / hrs | Max running time / hrs | DC power supply |
| AC300+B300 | 12V/30A (RV Outlet) | 3,072 | 12.8 | 25.6 | Yes |
| AC200P | 12V/25A (RV Outlet) 2pin Weipu | 2,000 | 8.3 | 16.7 | Yes |
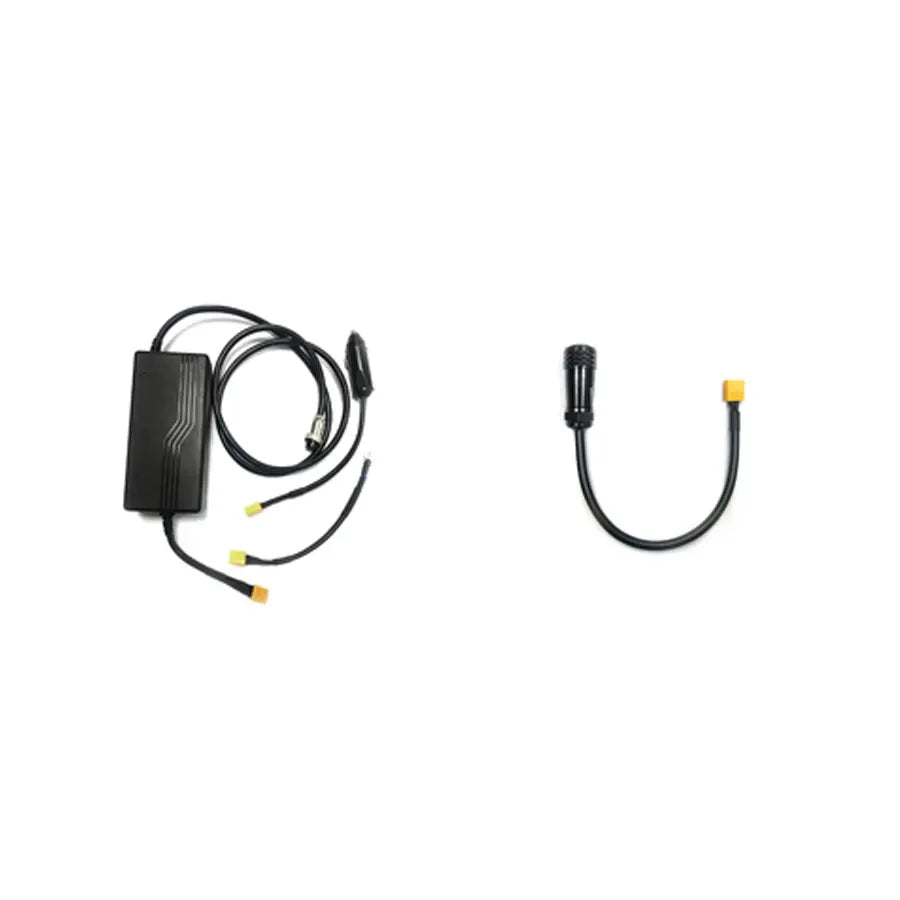
| AC200MAX | 12V/30A (RV Outlet) 2pin | 2,048 | 8.5 | 17.1 | Yes |
| EP500/Pro | 12V/30A (RV Outlet) | 5,100 | 21.3 | 42.5 | Yes |
| EB240 | AC | 2,400 | 10 | 20 | No |
| EB150 | AC | 1,500 | 6 | 13 | No |
| EB70 | AC | 716 | 3 | 6 | No |
Kit Contents: Each compatible model kit includes the standard 12V to 24V Converter package along with brand-specific connection cables designed for these portable power stations.
For Models Not Listed or Power Stations Not Meeting the 12V, 25A, 300W Requirement: The Mark 2 can also be powered using its AC adapter connected to the AC output of the power station, which is suitable for both operating the Mark 2 AC and charging its battery.
Usage Duration Disclaimer: Please note that the listed durations are estimates, and actual times may differ. The listed usage durations for connecting other portable power brands to the Mark 2 are based on the specifications provided. Actual usage time may vary due to factors such as ambient temperature, usage frequency, and battery age.
Updates and Customer Support: This compatibility list is subject to updates as new models are released and specifications change. For models not listed, please contact our customer support to verify compatibility. Note that issues arising from specification changes by portable power manufacturers after purchase are not covered under warranty or after-sales service.
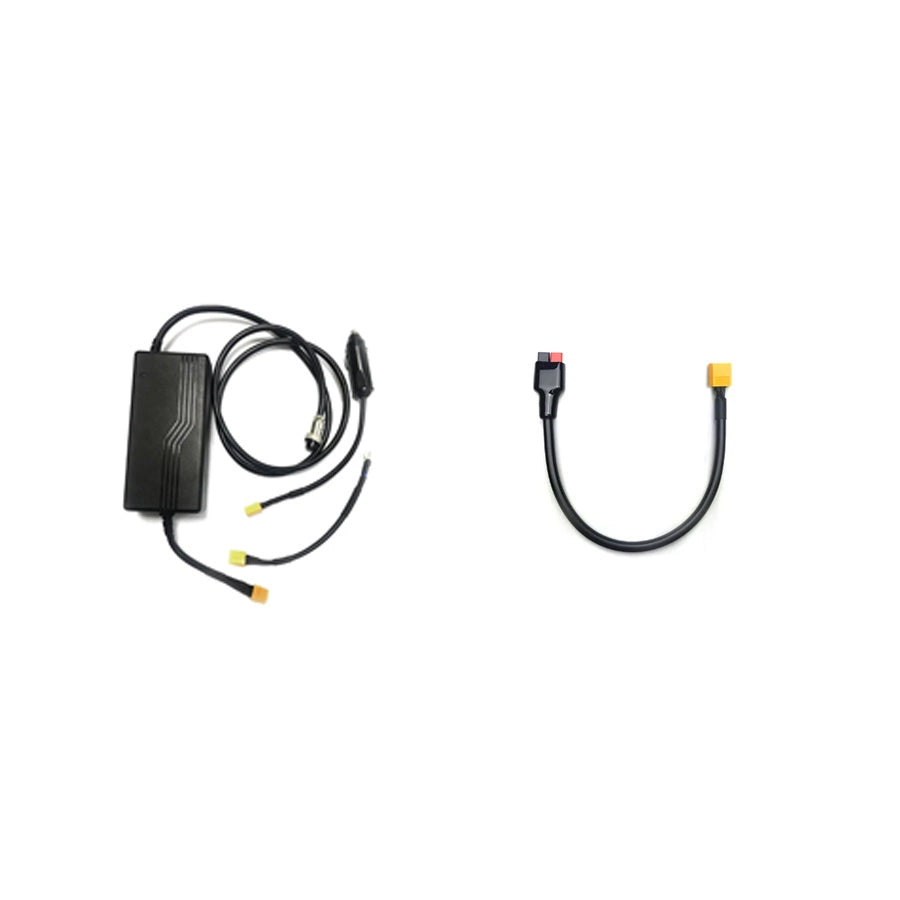
For those with other types of power sources or who are comfortable with creating custom setups, this section explains how to use the 12V to 24V Converter with any 12V power source capable of delivering 25A and 300W output.

Steps:
Connect the Leads:
Attach the XT60 Connector:
Begin Charging or Powering the Mark 2:
Safety and Compliance: